
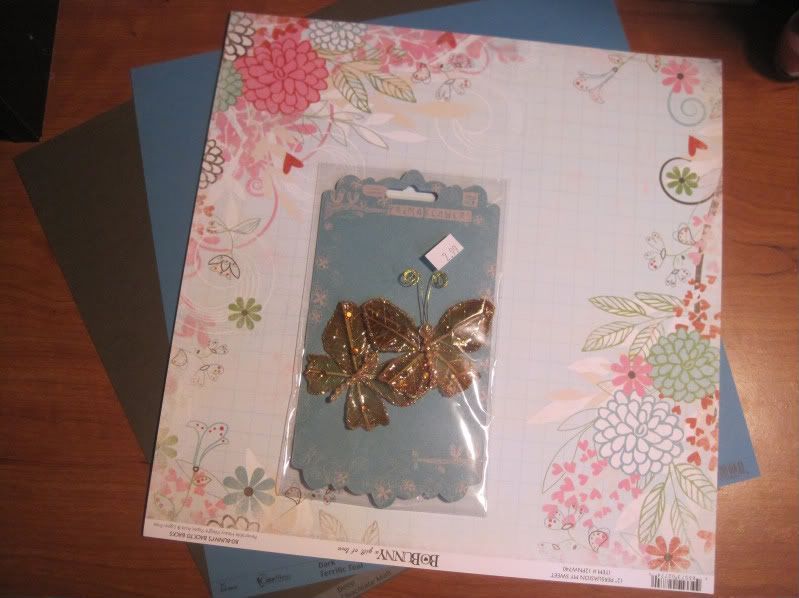
The inspiration for this card came from the cutest set of butterflies I found at The Scrapbook Page in Barboursville, WV. The butterflies are by Prima Marketing, Inc and are titled Butterfly D. I also picked up the papers in this card at The Scrapbook Page. If you ever drive by Barboursville, WV, you should most definitely stop by this little shop. The owner is very nice and helpful, and she carries paper of very good quality. The papers I chose are Dark Terrific Teal and Deep Chocolate Malt by WorldWin and Persuasion My Sweet by BoBunny.
I don't particularly like huge cards; so, I used my Pazzles Inspiration Cutter to cut out a premade card I found on a Yahoo Group. I cut the card out in the teal colored cardstock. I did not want the scalloped edge to go fully to the bottom of the card when I folded the paper; therefore, I scored the paper just a fraction short of half the length of the paper. I scored the card using a scoring tool by Tonic Studios which I purchased in a kit from HSN. The kit is no longer available, but you can purchase these tools from Amazon. When scoring the paper, I used a ruler as a guide for a clean, straight line.

I only wanted to use a section of the Persuasion My Sweet cardstock. In the design of the paper is a very light grid pattern. I used this grid pattern as a guide for cutting. I simply took a pencil and lightly marked where I wanted to cut. I don't normally cut things by hand since I am rather horrible at it, but neatness was not really an issue in this instance because the paper was going to be ruffled around the edges anyway. After I finished cutting the section of the paper I wanted, I placed it on top of the brown paper and cut the general shape out by using the BoBunny paper as a guide. Again, neatness was not an issue here.


Even though the BoBunny paper is beautiful on its own, I really wanted to make it stand out more. I used Perfect Pearls to add a little shine to the leaves, white flowers and swirls on the paper. Since I obviously could not apply the Perfect Pearls using the Perfect Medium, I decided to try the "wet" technique that is described on the back of the packaging. I honestly did not expect it to be as easy as it was since I thought the water would run all over the paper. However, the water and Perfect Pearls mix creates a sort of 'liquidy' gel so that where you apply the mixture, that is where it stays. If you want the Perfect Pearls to be thicker, don't use as much water. Likewise, if you want a mere glaze, use more water. I used a lid from a water bottle and placed a very small amount of water in the lid which you can see in the picture below. I then added a very tiny amount of the Perfect Pearls to the water using a cuticle tool from a manicure kit. I mixed the two together using the small brush from Perfect Pearls, and then applied the mixture to my paper.


I am very much into anything that sparkles and shines. A couple weeks ago I picked up some embossing glitter and though I would try it on this project. I took a clear embossing pen and very carefully traced around the edge of the front side of the card. It probably would have been easier if I had thought to use a ruler; however, if you go very slowly and very carefully there won't be many mistakes. I then applied turquoise embossing glitter by Ranger to the cardstock and then heat set it with a heat gun. It is always very important to use a heat resistant surface when using a heat gun so you don't damage furniture, countertops, etc. In the near future, I plan on purchasing a glass cutting mat which would be good for embossing as well as cutting.


I really like the ruffling technique to make the paper look more aged and a little more elegant. To do this, simply cut a jagged edge around your paper. The more jagged, the better the ruffle will be. I did this to both the brown cardstock and the patterned cardstock pieces I cut out earlier. I then applied black ink to the brown cardstock to give it a more aged look and to also moisten the paper. When applying the ink, use a sponge (I cut up dish washing sponges) and bring the ink into the paper from the outside in circular motions. Don't forget to put a piece of paper under your cardstock so that you don't make a mess. After you have applied the ink, simply bend the edges of the paper in and work it a bit with your fingers. The more you work it, the softer the ruffle will be. I did this same technique with the patterned paper except instead of using black ink, I used Vintage Photo Distressing Ink by Tim Holtz. Also, on the patterned paper I added more ink to the 'outside' of the ruffle with my sponge. After inking both pages, I glued them together using a glue runner and then glued the combination to the teal cardstock.


Although it is a very long and tedious process, I like to make my own letters when it comes to scrapbooking and card making. In the long run, it is a lot cheaper than stickers, and I always have the colors that I want. I used my Pazzles Inspiration Cutter to cut out the letters I wanted to use on the card using the teal cardstock. I then took each letter one by one and applied embossing ink using the clear embossing pen. I added the same embossing glitter to the letters that I applied to the card and then heat set the glitter. I applied the letters to the patterned paper using Zig Memory System 2 Way Glue Squeeze and Roll.


For the message on the inside of the card, I cut another piece from the BoBunny patterned paper and ruffled the edges using the same technique as mentioned before. I glued this piece to the brown cardstock with the embossing, and then glued it to the card. Finally, I added the butterfly to the front of the card using a hot glue gun.


Ashley Nicole ✗


No comments:
Post a Comment